 Mae govannen! So, this was my first time making an attempt to document my prop making. I took a lot of pictures, but my general prop making policy is keep failing until it works, lol. I learned a lot about the materials I was working with throughout this process so I'm excited to try another prop.
So, the first step is to gather materials! I used:
- PVC pipe (About 5 dollars for the pre-cut length at Lowe's. It's about 5 feet)
- Floral wire netting (that hexagonal green wire thing)
- Expanding Spray Foam Insulation (about 5 bucks at Lowe's)
- Brown Matte Spray Paint
- Masking Tape
- Magnetic Sylvania Push-Button Light (other companies make comperable ones)
- Fresh Batteries for the light
- Real Quartz Crystal
- wire cutters/pliers
- sanding tool/sandpaper

Not pictured: The LARGER quartz point I wound up using, Velcro dots, and Acrylic Clear Coat Sealant.
Got your supplies? Let's do this!
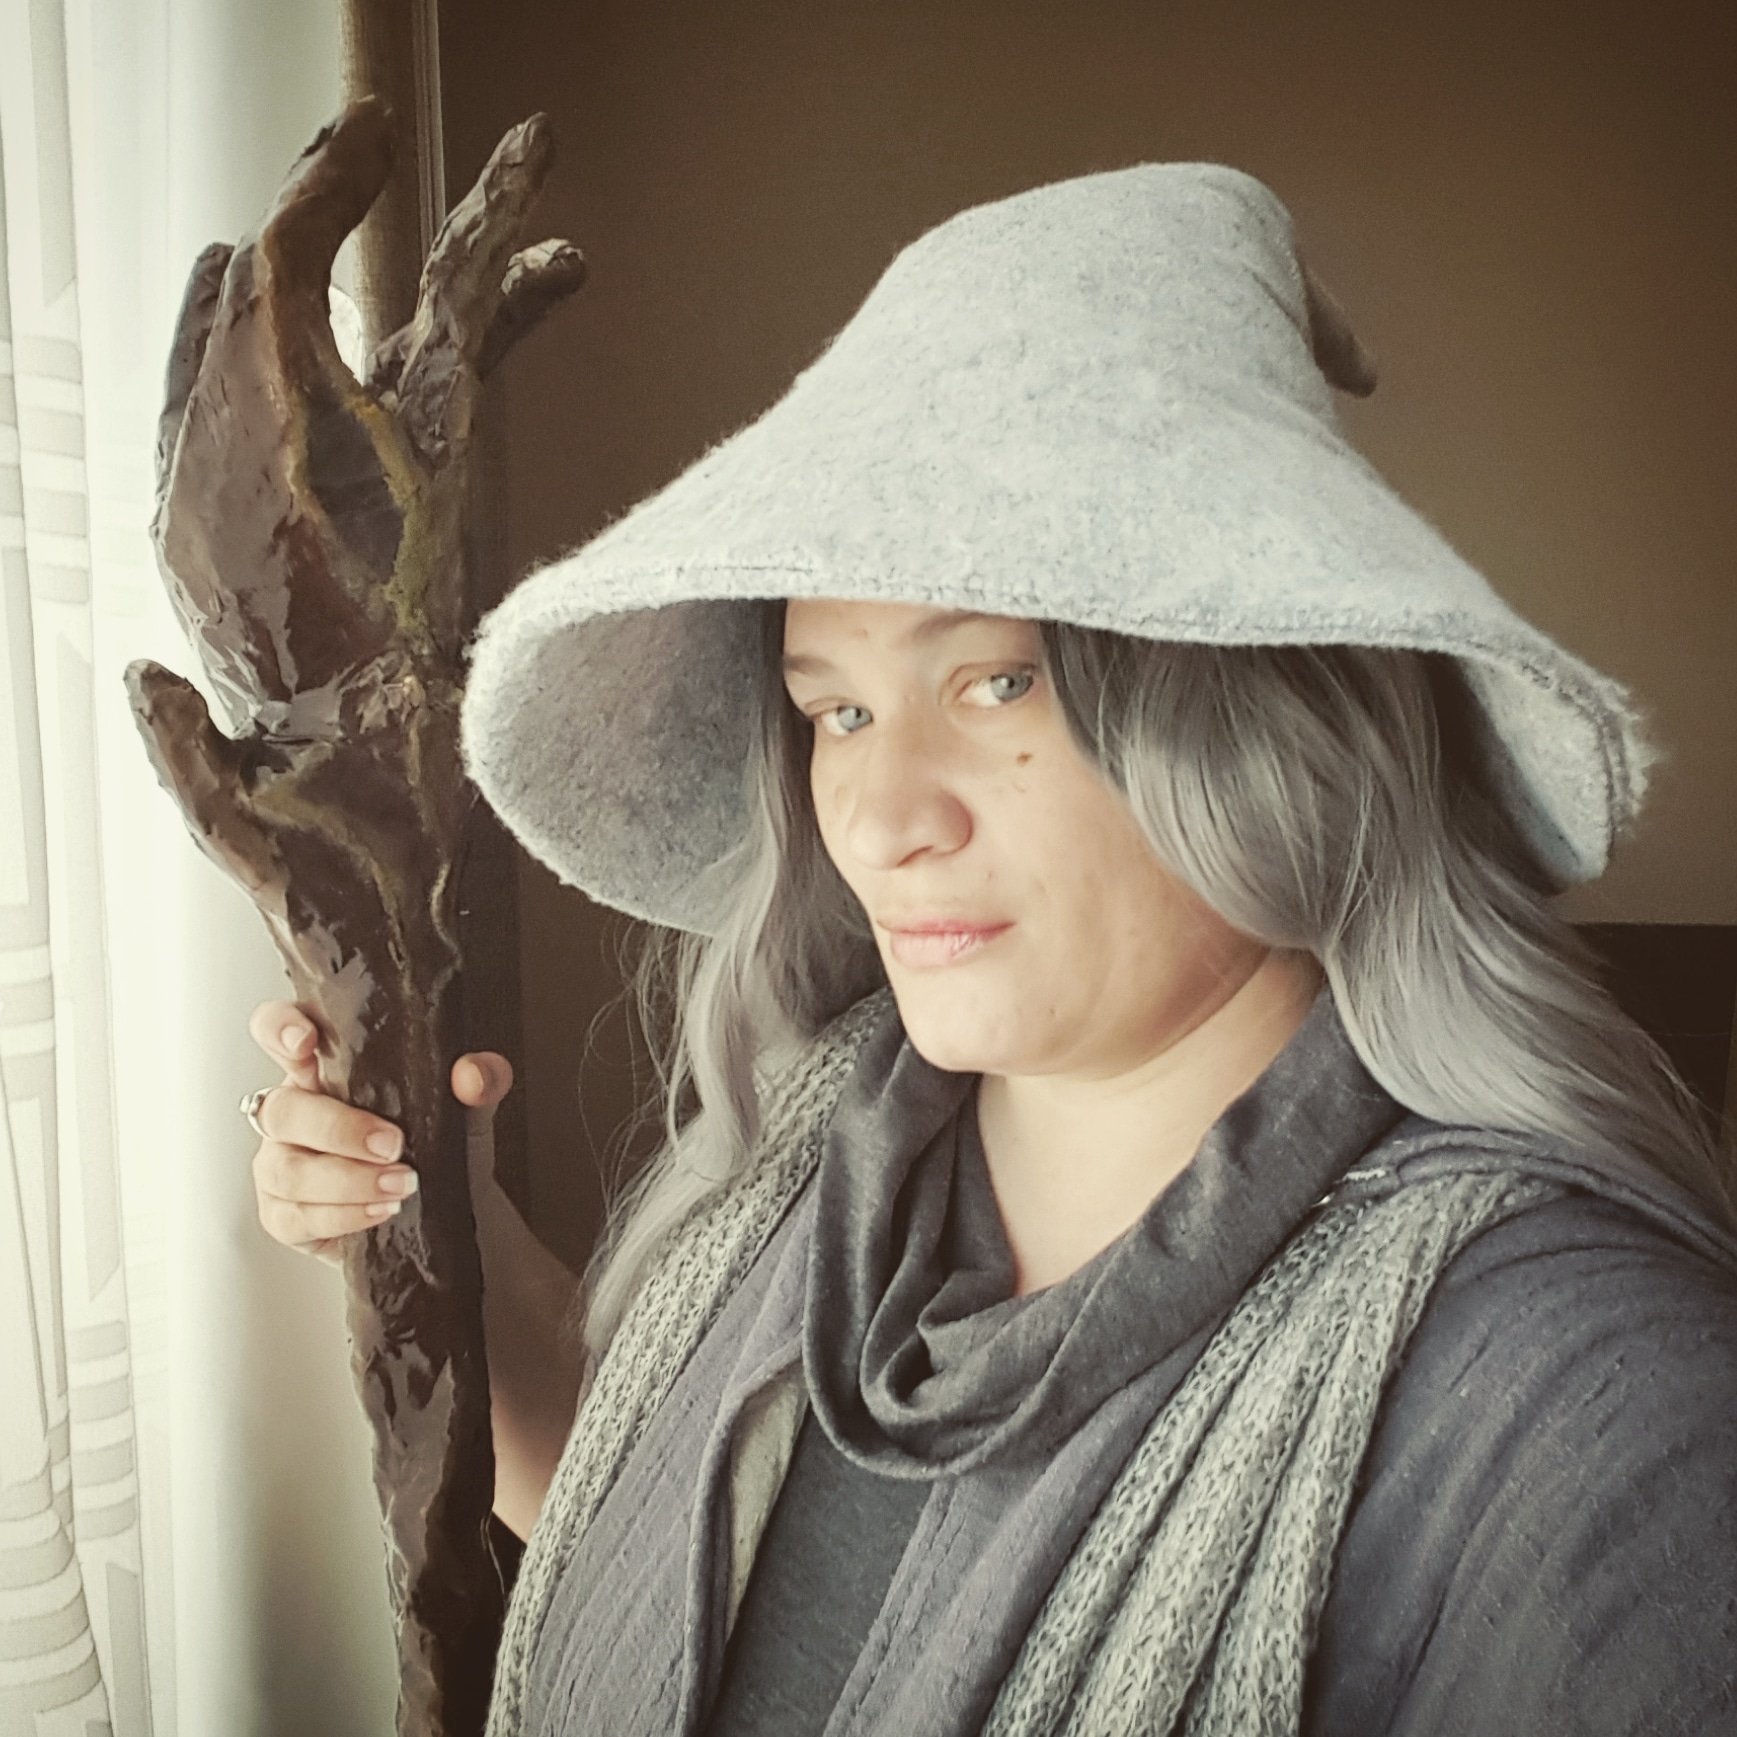
Step one involved me making a wire frame shape to rough out what I wanted the "branches" to look like. I decided to loosely base my design off of Gandalf's second staff; the one he takes into Moria with the glowy crystal. His first one was designed to conceal his churchman's pipe but Sarumon destroyed/kidnapped that one...his disdain for Gandalf's smoking habits bled right through, y'all.
By the way, for this step you will definitely need some wire cutters. If you have leather gloves I'd recommend wearing them because cut wires are sharp as anything when you're trying to shape a pile of wirey nonsense into a shape that makes a little more sense. Gandalf's staff had a kind of swooshy tendency for the branches to grow in one direction, so I tried to make them look like the wind shaped this little fallen tree a bit. I secured the base to the pvc with masking tape just to make sure things didn't come apart right at the beginning.

Then came a sortof fun part; I took masking tape and tried to solidify the shape a little bit. I knew I was going to be applying some spray foam, and I wanted to give the foam a place to rest in and actually stick instead of just falling through the wire cage. Also, the tape served as a barrier between my poor squishy hands and the sharp wire-cut edges of the frame. I also had to make sure it was large enough at the base to support my little button light! I put it in and out a couple times during this shaping to make sure it had enough room in there plus some space to allow for the foam.


Having done that, I had to wait for the weather to clear up so that I could apply the spray foam. Spray insulation is a Serious Substance, guys. Make sure if you're going to spray inside you have a VERY well ventilated area and wear a mask so that you don't breathe in the little insulation particles. This is true also for the sanding/carving stage. If you have pets, make sure you do the foam insulation work away from their fragile little lungs. Also important, WEAR RUBBER GLOVES. If this stuff gets on your skin, it is REALLY hard to get off! Do everything you can not to actually touch the foam. You can sand down the misshapen-ness after it cures. Unfortunately for me, the next clear day was also an INCREDIBLY WINDY DAY. Because the object I was making wasn't a blade or something that could be easily laid on it's side without smashing up the shape, I devised a way to spray it standing up using one of those little backyard drink can holders for bbqs. Pretty sure I got mine at Big Lots, but I was originally going to use the sand spike I have for surf fishing. Couldn't find it. Drink holder it was!

Spraying this foam created a staff shaped tumor monster. It was gross. Foam fell everywhere. If I wasn't crunched for time, I might have gotten more foam to fill out some inevitable bubble-holes, but time and money etc etc. Just do your best to fill every nook and cranny and don't worry about getting things perfect. You can ALWAYS go back and do more. Regardless, I had to move my little spike and staff out of the wind so I wound up shielding it in a thick briar bush to cure. It needs to sit like this for 24 hours to cure/harden. Don't rush the process; in winter it'll go a little slower because it's friggin cold. Don't let it rain on your project, either!

Yeah, I know. It's gross. So then once it cured, I took it inside and began using a styrofoam cutter (hot knife) to shave down the shape close to what I wanted this to look like. Again, wear a mask. Just in case. As you can see, there are a lot of air bubbles and cracks, but the material is still pretty flexible; it's dry but it doesn't snap when you bend it like regular styrofoam. Also, surprise!! the core in the middle of this hadn't totally cured and I stuck my finger in a pool of goo-foam. Fun!


So, there's a lot you can use at this point to fill those gaps! You can go another round of foam, spraying one side at a time and letting each side cure for 24 hours, then reshape it and smooth it. You can also use wood filler putty, but that's an expensive venture because you'll need a LOT. There is also a sculpting putty called Apoxie Sculpt that is basically an air dry/hardening clay that runs about 22 bucks a pound and gives things a really nice professional looking surface. The goal here is to create a nice smooth surface for painting. Because I'm poor and try to be resourceful, I took a page from my mom's prop making book of many Halloween Adventures and just decided I would paper mache the thing! That is, white elmer's glue, water, and a little bit of flour. Recipes vary, but they pretty much all work. Check pinterest to find one you like! You can barely see it in this picture, but there's a whole stack of old ads from the newspaper that I tore into various strips to put into my glue soup. The key here is to BE PATIENT. Prepare to make a mess, because you're going to. Glue drops are going to get everywhere; on your shoes, on your floor, on your table, on your cat, EVERYWHERE. Wear gloves! Or lose your gloves and do it barehanded, limiting your activities until you're done with this thing for the next three hours or so. Pee first before paper mache without gloves! Also, paper mache sticks to itself more readily than it sticks to the foam, so make sure you wrap it around itself to create the base you need to work off of. Try to make sure you don't have any gaps. Let it dry! For like, at least a day. (Depending on how many wet layers you slathered on. )


After it dries, it's time to sand down any imperfections (I used a dremel sander, but you can use a sheet of sandpaper too), then spray paint/detail! I used the spray paint inside like an idiot, but it was raining and I'd just gotten over pneumonia. I let that dry for a couple hours each side and tried to keep rotating so as to not have a lot of drips. Then, I pulled out my box of acrylic paint and tried to make things look more organic; darkness for the knot hole areas, greens for the lichens, light browns for weathering, etc. The gnarlier the better. And I kept checking to make sure my little light fit throughout this whole process. I could have gone the LED wires through the PVC route if I wanted to, but I wanted to use parts I already had, hence the battery powered button I could easily remove if I needed to change the batteries.

And here's the almost totally finished result!!


After this, I had to do a couple little things to make sure I didn't wreck my own prop. I had chosen PVC pipe instead of a wood pole for weight purposes, and if I decided to wire it with LED's at a later time, I could use the hollow of the pole. To secure the crystal ( I had to get a much bigger one because the tiny one just looked so sad in there.) I used a couple of velcro dots to secure it to the sides. It didn't need much to keep it in place, but I wouldn't have swung it around hard enough to launch the rock anyway. There's no room to swing ANYTHING at Katsucon, anyway! I nearly forgot to seal my paper mache, which would have been bad if I had wet hands or it rained or anything, so even though I only had high gloss acrylic sealer ( so it looks like Gandalf's staff had a lovely shiny varnish, lol) instead of the matte I would have preferred, but I think it worked out well enough.
And! It withstood all of my abuse during the convention, and I got a number of compliments on it! I'm always surprised when a plan works out well, especially in the cosplay realm because I don't consider myself your prime-body-type cosplayer, so when things work and people compliment you it's the ultimate praise in making all the work worth it. We also had a professional photo shoot done in the Katsucon Photo Suite, where Ted and Pete did their damndest to recreate some scenes out of the movies for us and generally made us look amazing. The experience really reignited my passion as an artist and a crafter, so over time I may begin offering props at my art tables too in addition to my prints and such.
Thanks for reading, and I hope this helps you make your own (far better than mine, learn from my mistakes and take your time!) wizard staff of any kind!
Happy Casting!
